Daylight saving time ends at 2 a.m. on Sunday, November 1, 2026, and clocks move back one hour. Fire departments have used that date for years as a fixed annual reminder to service the devices that are supposed to wake you when a fire starts. The reminder works because it asks for one small action on a date you already know.
The date is useful, but the usual advice stops at “change the battery.” A battery swap does not tell you whether the alarm is too old, whether it is in the right place, or whether every alarm in the house actually sounds. This checklist covers all of it, in an order that takes one pass through the house.
Why the annual check matters
Smoke alarms only protect a household if they work when a fire starts. NFPA’s analysis of reported U.S. home fires found that almost three of every five home fire deaths happened in homes with no smoke alarms (40%) or no working smoke alarms (17%). In fires where an alarm was present but did not operate, more than two in five (43%) had missing or disconnected batteries.
That second figure is the one worth sitting with. These were not cases where the technology failed. The alarm was on the ceiling, and the power source had been removed or had run down. A yearly prompt is cheap insurance against exactly that failure.
The checklist, step by step
Step 1: Count and locate your alarms
Before testing anything, walk the house and count. NFPA’s placement guidance calls for alarms inside every bedroom, outside each separate sleeping area (in the hallway near the bedrooms), and on every level of the home, including the basement. In a long hallway, put one at each end.
Apartment and rental households often find gaps here. A studio may have one alarm in the kitchen and nothing near the bed. If your lease or local code leaves you short, a battery-powered alarm is an inexpensive addition, and our renters’ preparedness guide covers what to ask a landlord to provide.
Note where alarms sit relative to the kitchen and bathrooms. An alarm that goes off every time someone cooks or showers is an alarm that gets a dead battery “temporarily.” If nuisance alarms are the problem, relocating the unit or switching to a model designed for near-kitchen use is better than disabling it.
Step 2: Test every alarm, every time
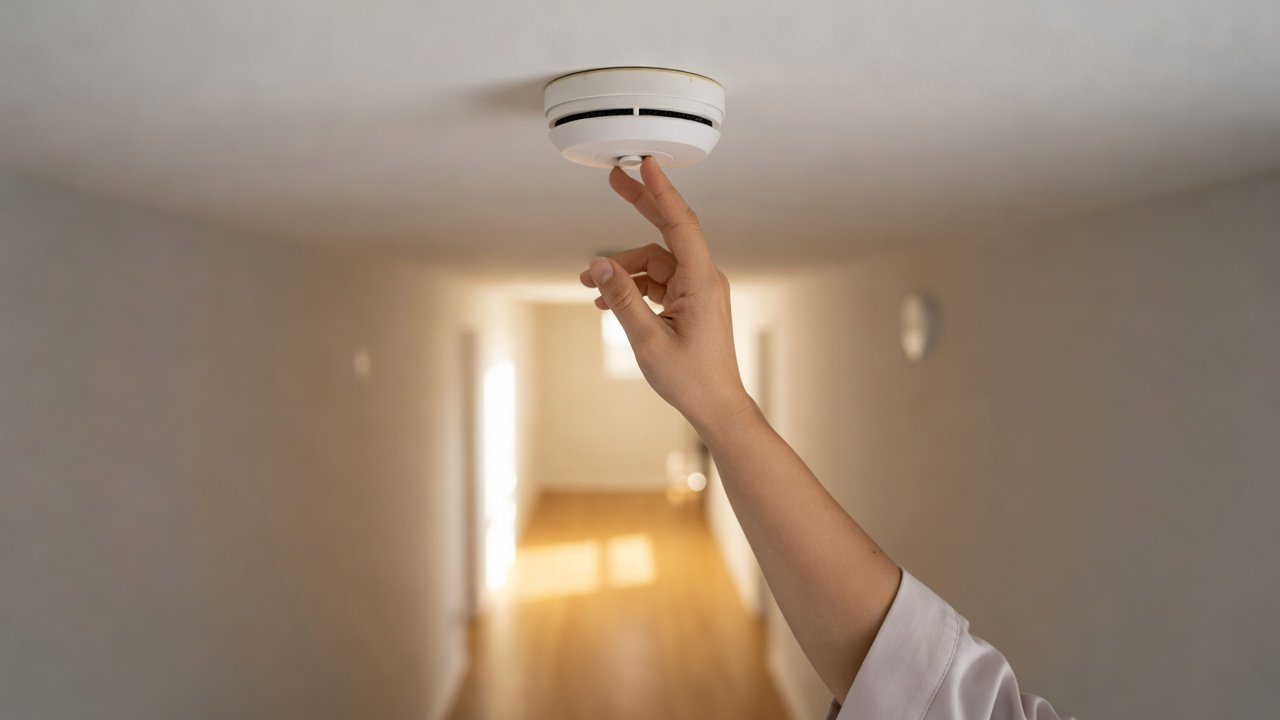
NFPA recommends testing smoke alarms monthly. The November clock change is the floor, not the ceiling. Press and hold the test button on each alarm until it sounds. Then confirm two things:
- The sound is loud and full. A weak or warbling tone suggests a failing battery or a failing unit.
- Interconnected alarms all sound together. If your alarms are linked, pressing one test button should set off every alarm in the house. One that stays silent has a wiring, battery, or signal problem.
Write the result on a sticky note and stick it inside a closet door, or add it to a household calendar. The point is not the paperwork. It is that next November, you will know which alarms needed attention last time.
Step 3: Replace batteries on the right schedule
How you handle batteries depends on which kind of alarm you own.
Units with replaceable batteries (typically 9-volt or AA) should get fresh batteries at least once a year, and immediately whenever an alarm chirps to signal a low battery. Do the swap on November 1 whether or not they have chirped yet. When you do, test the alarm again afterward, since a stuck or reversed battery is a common reason a “fixed” alarm stays silent.
Sealed-battery units are a different case. These contain a tamper-resistant lithium battery designed to last the life of the alarm, commonly marketed as a 10-year battery. There is nothing to replace on clock-change day, but the test still applies. Press the button, confirm the sound, and read the date on the back (see Step 4).
Chirping is an instruction. A single chirp every 30 to 60 seconds usually means a low battery, and it often starts at 3 a.m. when the house is cool. Replace the battery that day. Pulling the battery “just for tonight” is how an alarm ends up permanently disabled, and it is the missing-battery failure pattern in the NFPA data above.
Step 4: Check the date stamped on the back
This is the step most households skip. Smoke alarms wear out. NFPA guidance is to replace them at least every 10 years, counted from the date of manufacture printed on the back or side of the unit, not from the day you bought or installed it.
To check, twist the alarm off its mounting bracket and look for the manufacture date. Many units also show a “replace by” date. If there is no legible date, treat that as a reason to replace it.
A few practical notes:
- Sealed-battery units reach end of life on the same clock. The battery may still be running, but the sensor is past its service life. Many units signal this with a pattern of chirps that does not stop when the test button is pressed.
- Carbon monoxide alarms often wear out sooner. Check the manufacturer’s label, since service lives of roughly five to seven years are common for CO alarms. If you have combination smoke and CO units, the shorter clock governs.
- Replace alarms as a set where you can. Mixing brands in an interconnected system can cause compatibility problems, so check the packaging before mixing new with old.
If you find an expired alarm, replace it that day rather than putting it on a list. An alarm past its date is a false comfort, which is arguably worse than a missing one because nobody is looking for the gap.
Step 5: Practice what the alarm is for
An alarm only starts the clock. The outcome depends on whether everyone knows two exits from every bedroom and a meeting spot outside. The clock change is a natural time to run a five-minute drill: press the test button, have everyone walk out, and meet at the mailbox or a fixed point. Include children and anyone who needs help moving. Our family evacuation plan guide covers the routes and meeting points in more detail.
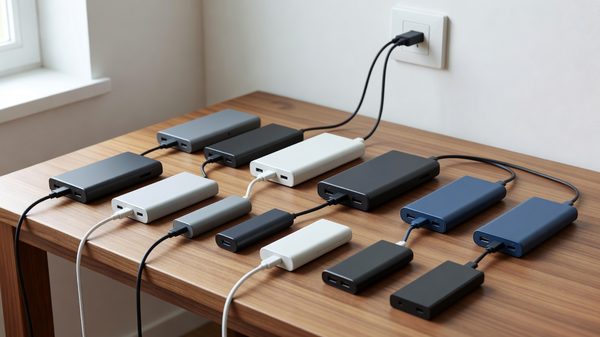
This check is also separate from the charging-safety audit we covered in our Fire Prevention Week piece on lithium-ion devices. That article is about reducing ignition sources. This one is about making sure the warning system works if something ignites anyway, and both matter.
A November 1 checklist you can finish in one pass
- Count alarms: one in every bedroom, one in the hallway outside each sleeping area, one on every level.
- Press the test button on each and confirm a loud, clear tone. Confirm linked alarms sound together.
- Replace batteries in every alarm that takes them, then retest.
- Turn each alarm over and read the manufacture date. Replace anything 10 years old or older, and check CO alarm labels for their own dates.
- Replace any alarm that is missing, chirping after a battery change, or undated.
- Walk the exit routes once with everyone in the house.
Do this on the morning the clocks change and the house will be covered until the next one, with monthly button presses in between. If the test date slips, do it that weekend, because the reminder only works if it gets done.